Keychains

These little guys have become a standard stock item.  They’re great little inexpensive gifts.  Hand forged from mild steel, each one is unique (just like mother nature intended).  I’ve been refining the tools and techniques I use to make these, they’re great practice for hammer control and tool use.

Leave a Comment

Filed under Finished Work, Products

The King of Crafts

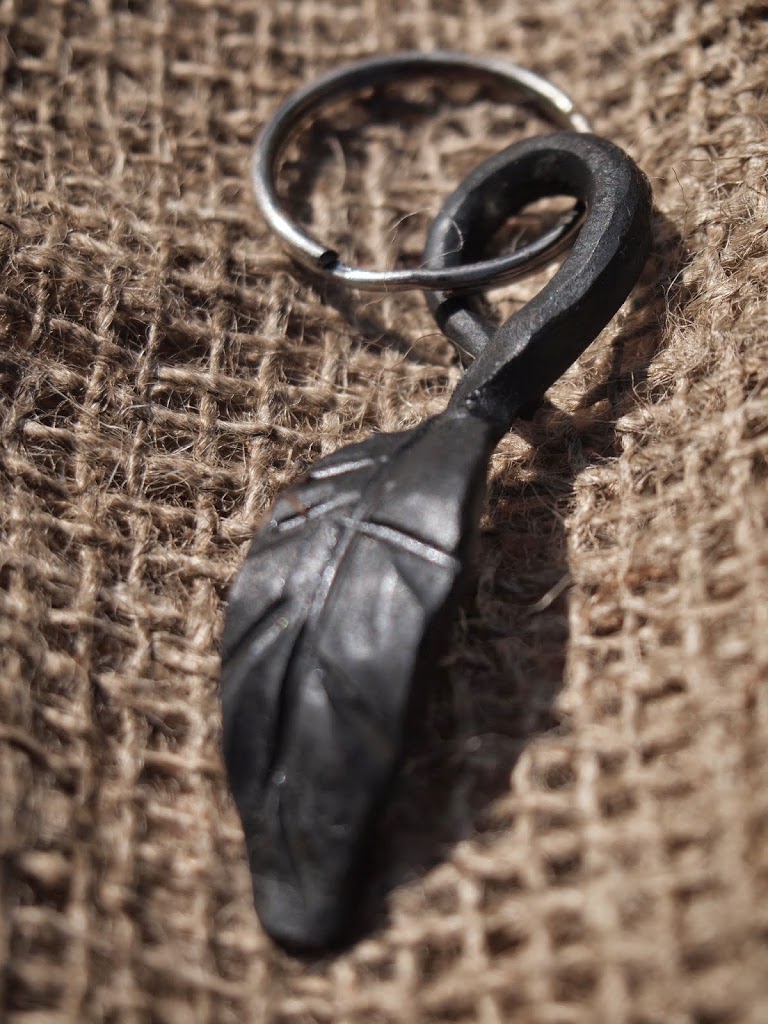
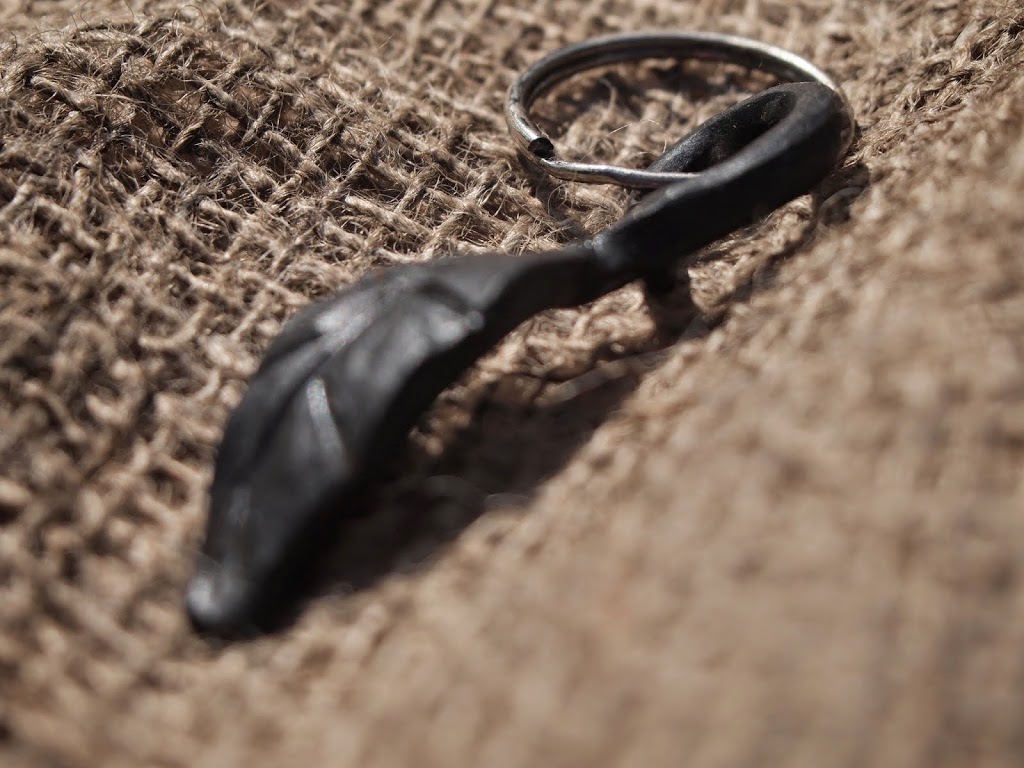
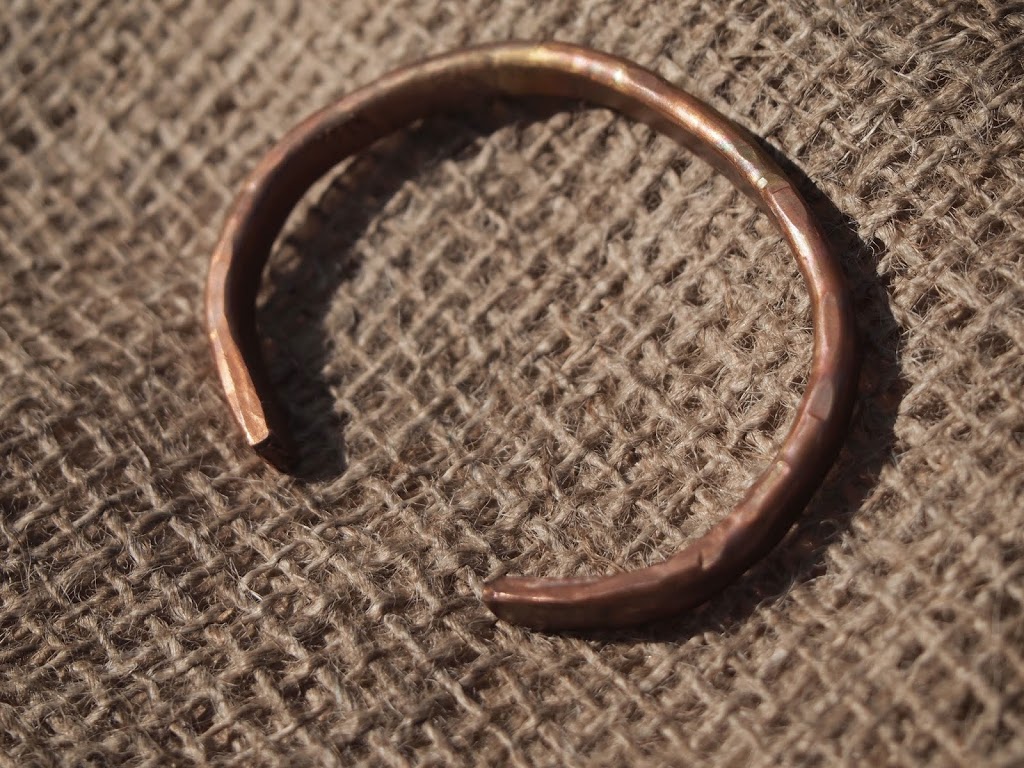
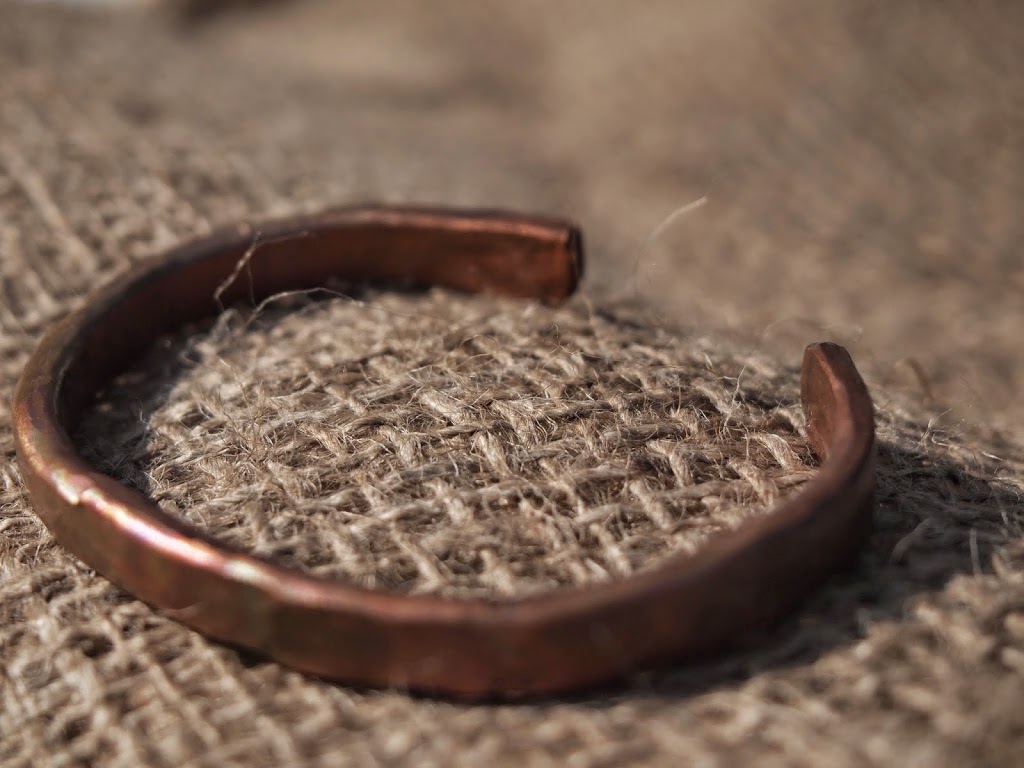
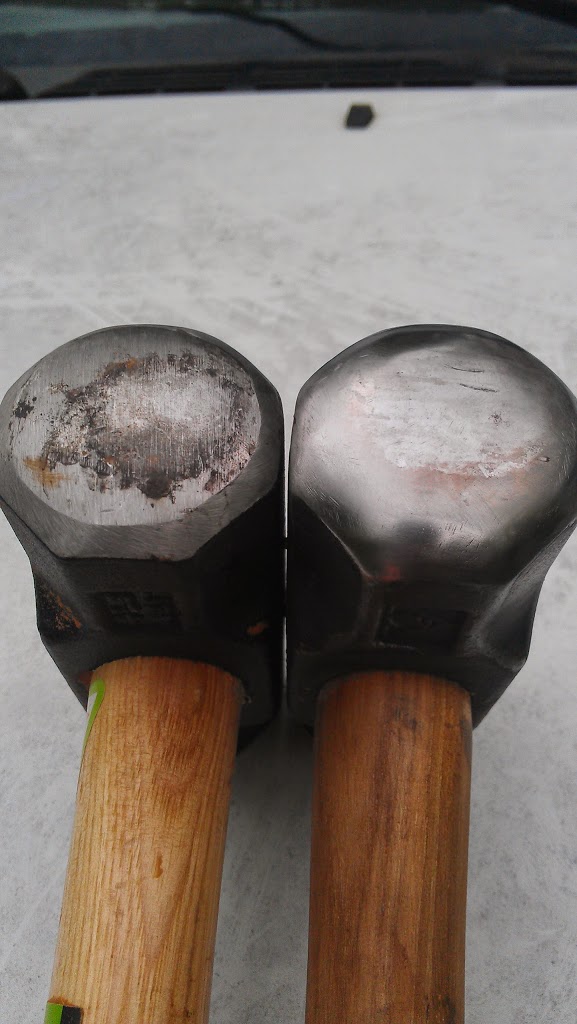
Blacksmithing is sometimes known as “The King of Crafts”, and you’ll hear a phrase “by hammer and hand all crafts do stand” if you hang around blacksmiths enough.  They come from an oft-told story, the origins of which I’m unsure.  Here’s one version courtesy of Anvilfire.com

—————————–

THE  KING  OF  CRAFTSMEN

THE story is told that many years ago the King of England had all the the Guild Masters of the various guilds to dinner at the palace.
DURING dinner, a violent argument broke out concerning which craft was most important, and which craftsman should be known as “King of Craftsmen”. The King ordered silence and once all were quiet, he said,

“There can be only ONE King, and I am he! But I will decide which is the most important craft, and permit the leader of the guild hall for that craft to be seated at my table with me and he shall be known as King of Craftsmen.

HE ordered all of the guild masters to stand on one side of the banquet hall. Calling them to the throne one at a time, he questioned each, then sent them to the opposite side of the hall from those who had not yet been questioned. He ordered his Sgt. at Arms to immediately strike off the head of any who spoke except in answer to a question from the King.
THE FIRST craftsman that he spoke with was a carpenter. The King asked what he made. The carpenter told the King that he made all things of wood. House, wagons, wheels, looms an so on. The King asked where he got the wood. The carpenter said that he went to the forest, and cut down trees with his ax, then brought the logs to his shop where he used other tools to cut the wood down to size and shape it. The King then asked where he got his tools, and the carpenter answered that he got them from the blacksmith.
THE SECOND craftsman was a weaver. The King asked the same questions that he had asked the carpenter, and got similar answers. When the King asked the weaver where he got his tools, the weaver said that he got them from the blacksmith.
THE THIRD craftsman was a potter. When the King questioned him, he admitted that he too got his tools from the blacksmith.
BY this time, the King had noticed the trend. So he questioned all of the craftsmen EXCEPT for the blacksmith. Each answered that yes, he got his tools from the blacksmith.
FINALLY, the King called the blacksmith to the throne. When he asked the blacksmith where he got His tools, the blacksmith answered that he made them himself, for no one else could make tools for the working of iron.
AT that point, the King called all of the Guild Masters back to the throne.
HE announced that he had made his decision. Since the blacksmith was the only craftsman who did not have to obtain his tools from some one else, but made them for himself, that henceforth and forever more, the Blacksmith would be known as the King of Craftsmen and would be the ONLY craftsman permitted to wear a fringe upon his work apron.

“FOR BY HAMMER AND HAND, DO ALL CRAFTS STAND”

Leave a Comment

Filed under Musings

Utensil Racks!

I have added utensil racks to the lineup.  These are designed to mount to the wall and they have moveable hooks so you can hang spoons, spatulas, etc from them.  I can also make heavier-duty models that will hold pots and pans.  I can make them to any width, but I plan on having a few with 16″ on center mounting holes on hand, this is the standard width for studs in residential construction so these should work in most houses.  Overall width will be around 18″.  I can, of course, custom make other designs and widths.

This particular one has heart shaped finials and is 14″ on center.  It’s a short one that I made as a sort of sample for craft fairs.  It would make a great key holder or utensil holder.  It comes with 4 hooks, but you can buy additional hooks.  I wouldn’t use more than 6 on something this short.

Leave a Comment

Filed under Products

Calendar added to Facebook

I have added a calendar app to the Sweetgum Forge Facebook page, I’ll be keeping it updated with shows I’m attending.  Check it out!

Sweetgum Forge on Facebook

Leave a Comment

Filed under News

Bashing Copper

I’ve been playing with copper lately for a variety of reasons.  It’s enjoyable to work, uses similar techniques to working iron, and people like it.  Additionally, I’m in the process of putting together a portable setup that will allow me to bang out bracelets and such at craft shows – sort of a mini-demo.  I’m using a cheap harbor freight 15lb anvil (DO NOT BUY ONE FOR BLACKSMITHING – it’s just too soft), inexpensive clamp-on vise, and I’m thinking about building a soup-can forge powered by a propane torch to anneal the metal.  The idea is to have a setup that will fit in a 6 gallon rubbermaid tote.

I’ll post more about it if/when it all comes together, in the meantime here’s a bracelet.

Leave a Comment

Filed under Products

First you need a hammer…

A hammer is one of the essential tools of blacksmithing.  There’s a wide variety of commercially-made, custom made, hand made, and modifiable hammers on the market.  Most of the other smiths I’ve seen work are using relatively heavy hammers with a flat face and rounding face, al-la Brian Brazeal.  Until I can get around to forging one I decided the best way to acquire one would be to modify a 4lb sledge hammer.  It’s fairly easy to do, but it’ll require an angle grinder, file, and some fine sandpaper.

Here’s a “before and after” shot:

As you can see, I shortened and sanded the handle and rounded one face of the hammer.  To round the face I used a cutting/grinding wheel in an angle grinder to bring the edges down and round them out, followed by a coarse sanding flap-disc to refine the shape, then a fine sanding flap-disc to smooth the surface.  Finally I polished the face with some fine grit sandpaper (220 stepping up to 600 grit).  The shape isn’t a half-sphere, it’s more like 1/5-1/6 of a sphere.
The main thing to watch for is to not overheat the metal.  You don’t want to lose too much of the temper of the hammer face.  Since these photos were taken I’ve refined the shape a bit more and flattened the other face by carefully grinding with an angle grinder followed by filing and sanding.  A belt sander would have been easier but I didn’t have one handy.
This is a great way to get a hammer you like if you’re on a budget.  I paid $10 for the hammer and spent an hour or so grinding and polishing.  It works great.
I also have a lighter (2-2.5lb) cross pein hammer I picked up from a flea market, it was in pretty good shape.  While I had the grinder out I sanded the dings out of the pein and face of the smaller hammer and wire brushed it before putting it on a nice new handle.  An inexpensive wire brush that fits in a drill and a cheap grinder will let you clean up flea-market or garage sale finds easily.
One final tip – sand the varnish off the hammer handles.  It’ll help prevent blisters and give you a solid grip.  The oils in your skin will help maintain the wood, but if you are concerned you can wipe on a light coat of an oil based finish such as boiled linseed oil, just be sure to let it thoroughly cure before you use the hammer so it doesn’t slip out of your grip!


Leave a Comment

Filed under Tools

Beginnings…

I’ve been playing with metal for several years, from heating up horseshoe nails with a propane torch and hammering out small knives as a kid to a smattering of jewelry work.  I’ve been playing with wood, from boxes to small pieces of furniture.  The two interests converged when I began reading more of Robin Wood’s blog and decided to try green wood turning, specifically bowl turning.  There’s few commercial makers of bowl turning hooks, traditionally turners forged their on.  So I took a blacksmithing class and, well, I still haven’t gotten around to building a lathe but I’ve built a forge!

I’m working on some pieces for my etsy shop and for myself.  I enjoy organic shapes and traditional technique – I’m not opposed to oxy-acetylene welding but it’s not the first tool I reach for.

I’ll be updating the blog as I produce more and as I learn new techniques.  Keep an eye out for photos coming soon!

Leave a Comment

Filed under News